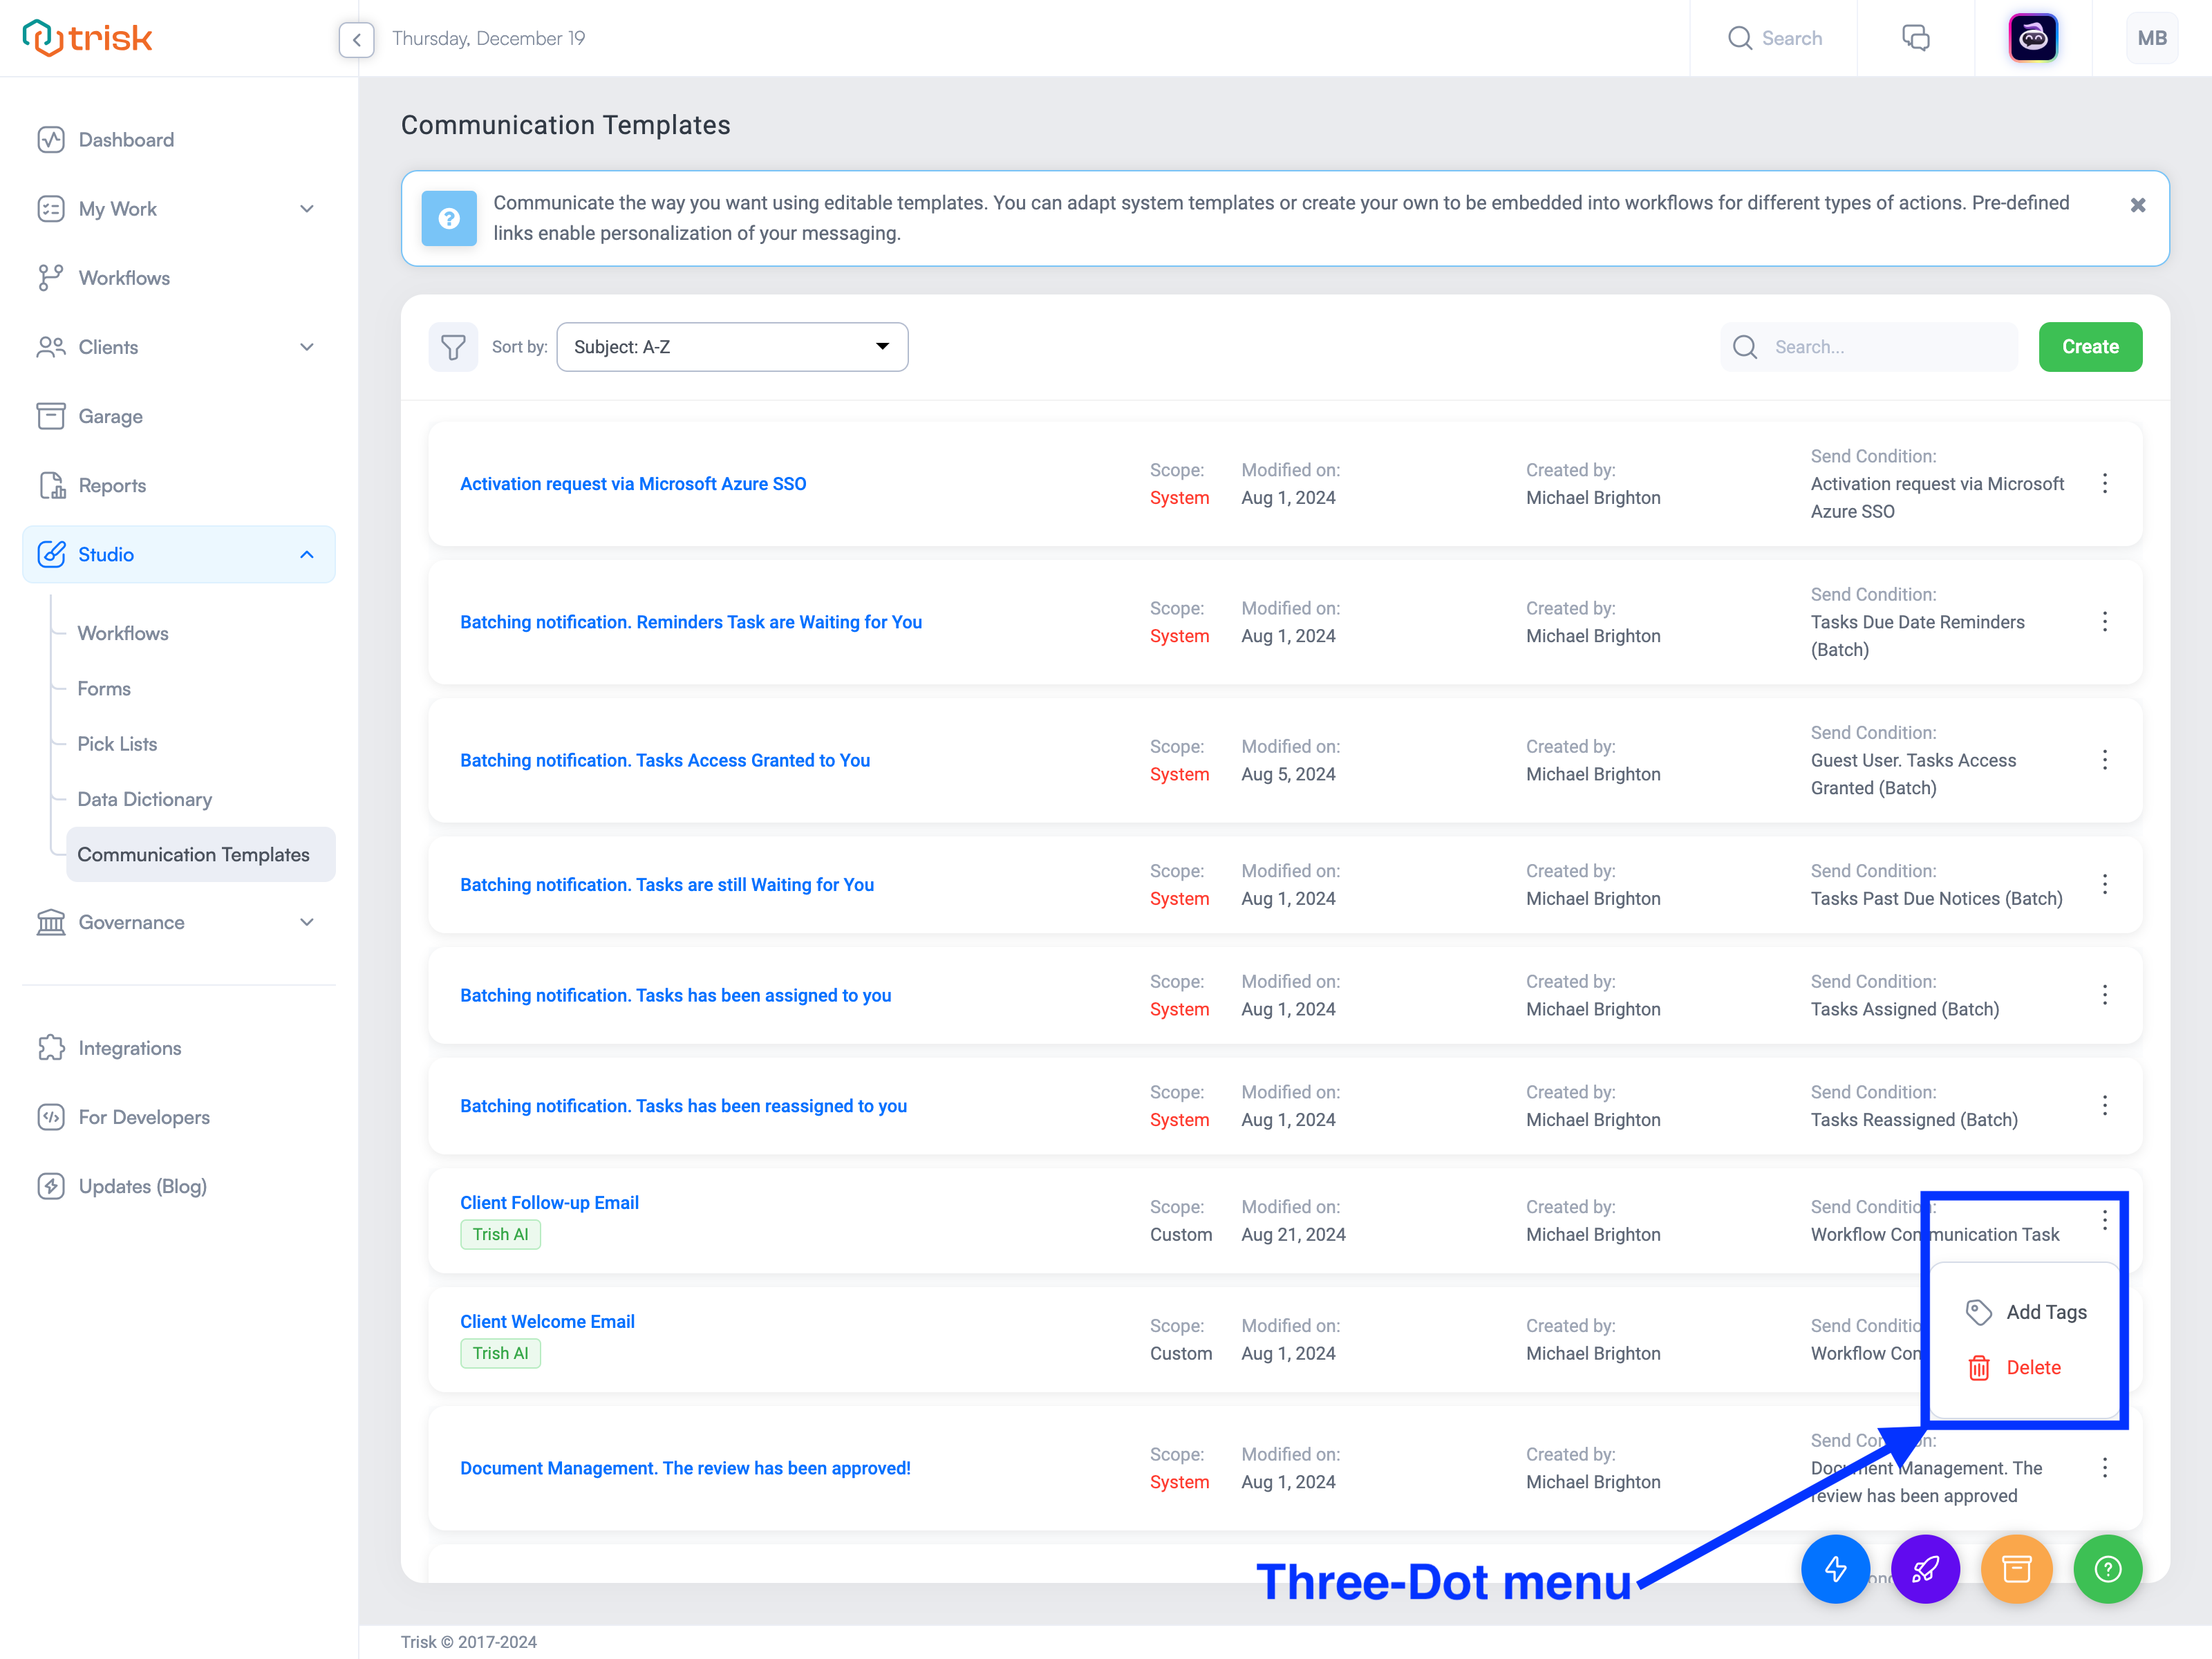
Communication Templates
Communication Templates in Trisk allow you to customize the appearance and content of emails used for user communication. These templates are automatically triggered by Trisk based on workflow configurations, enabling your company to send tailored and recognizable messages that reduce clutter in users' mailboxes.
You can customize the templates to include all the relevant information, ensuring clear and professional communication.
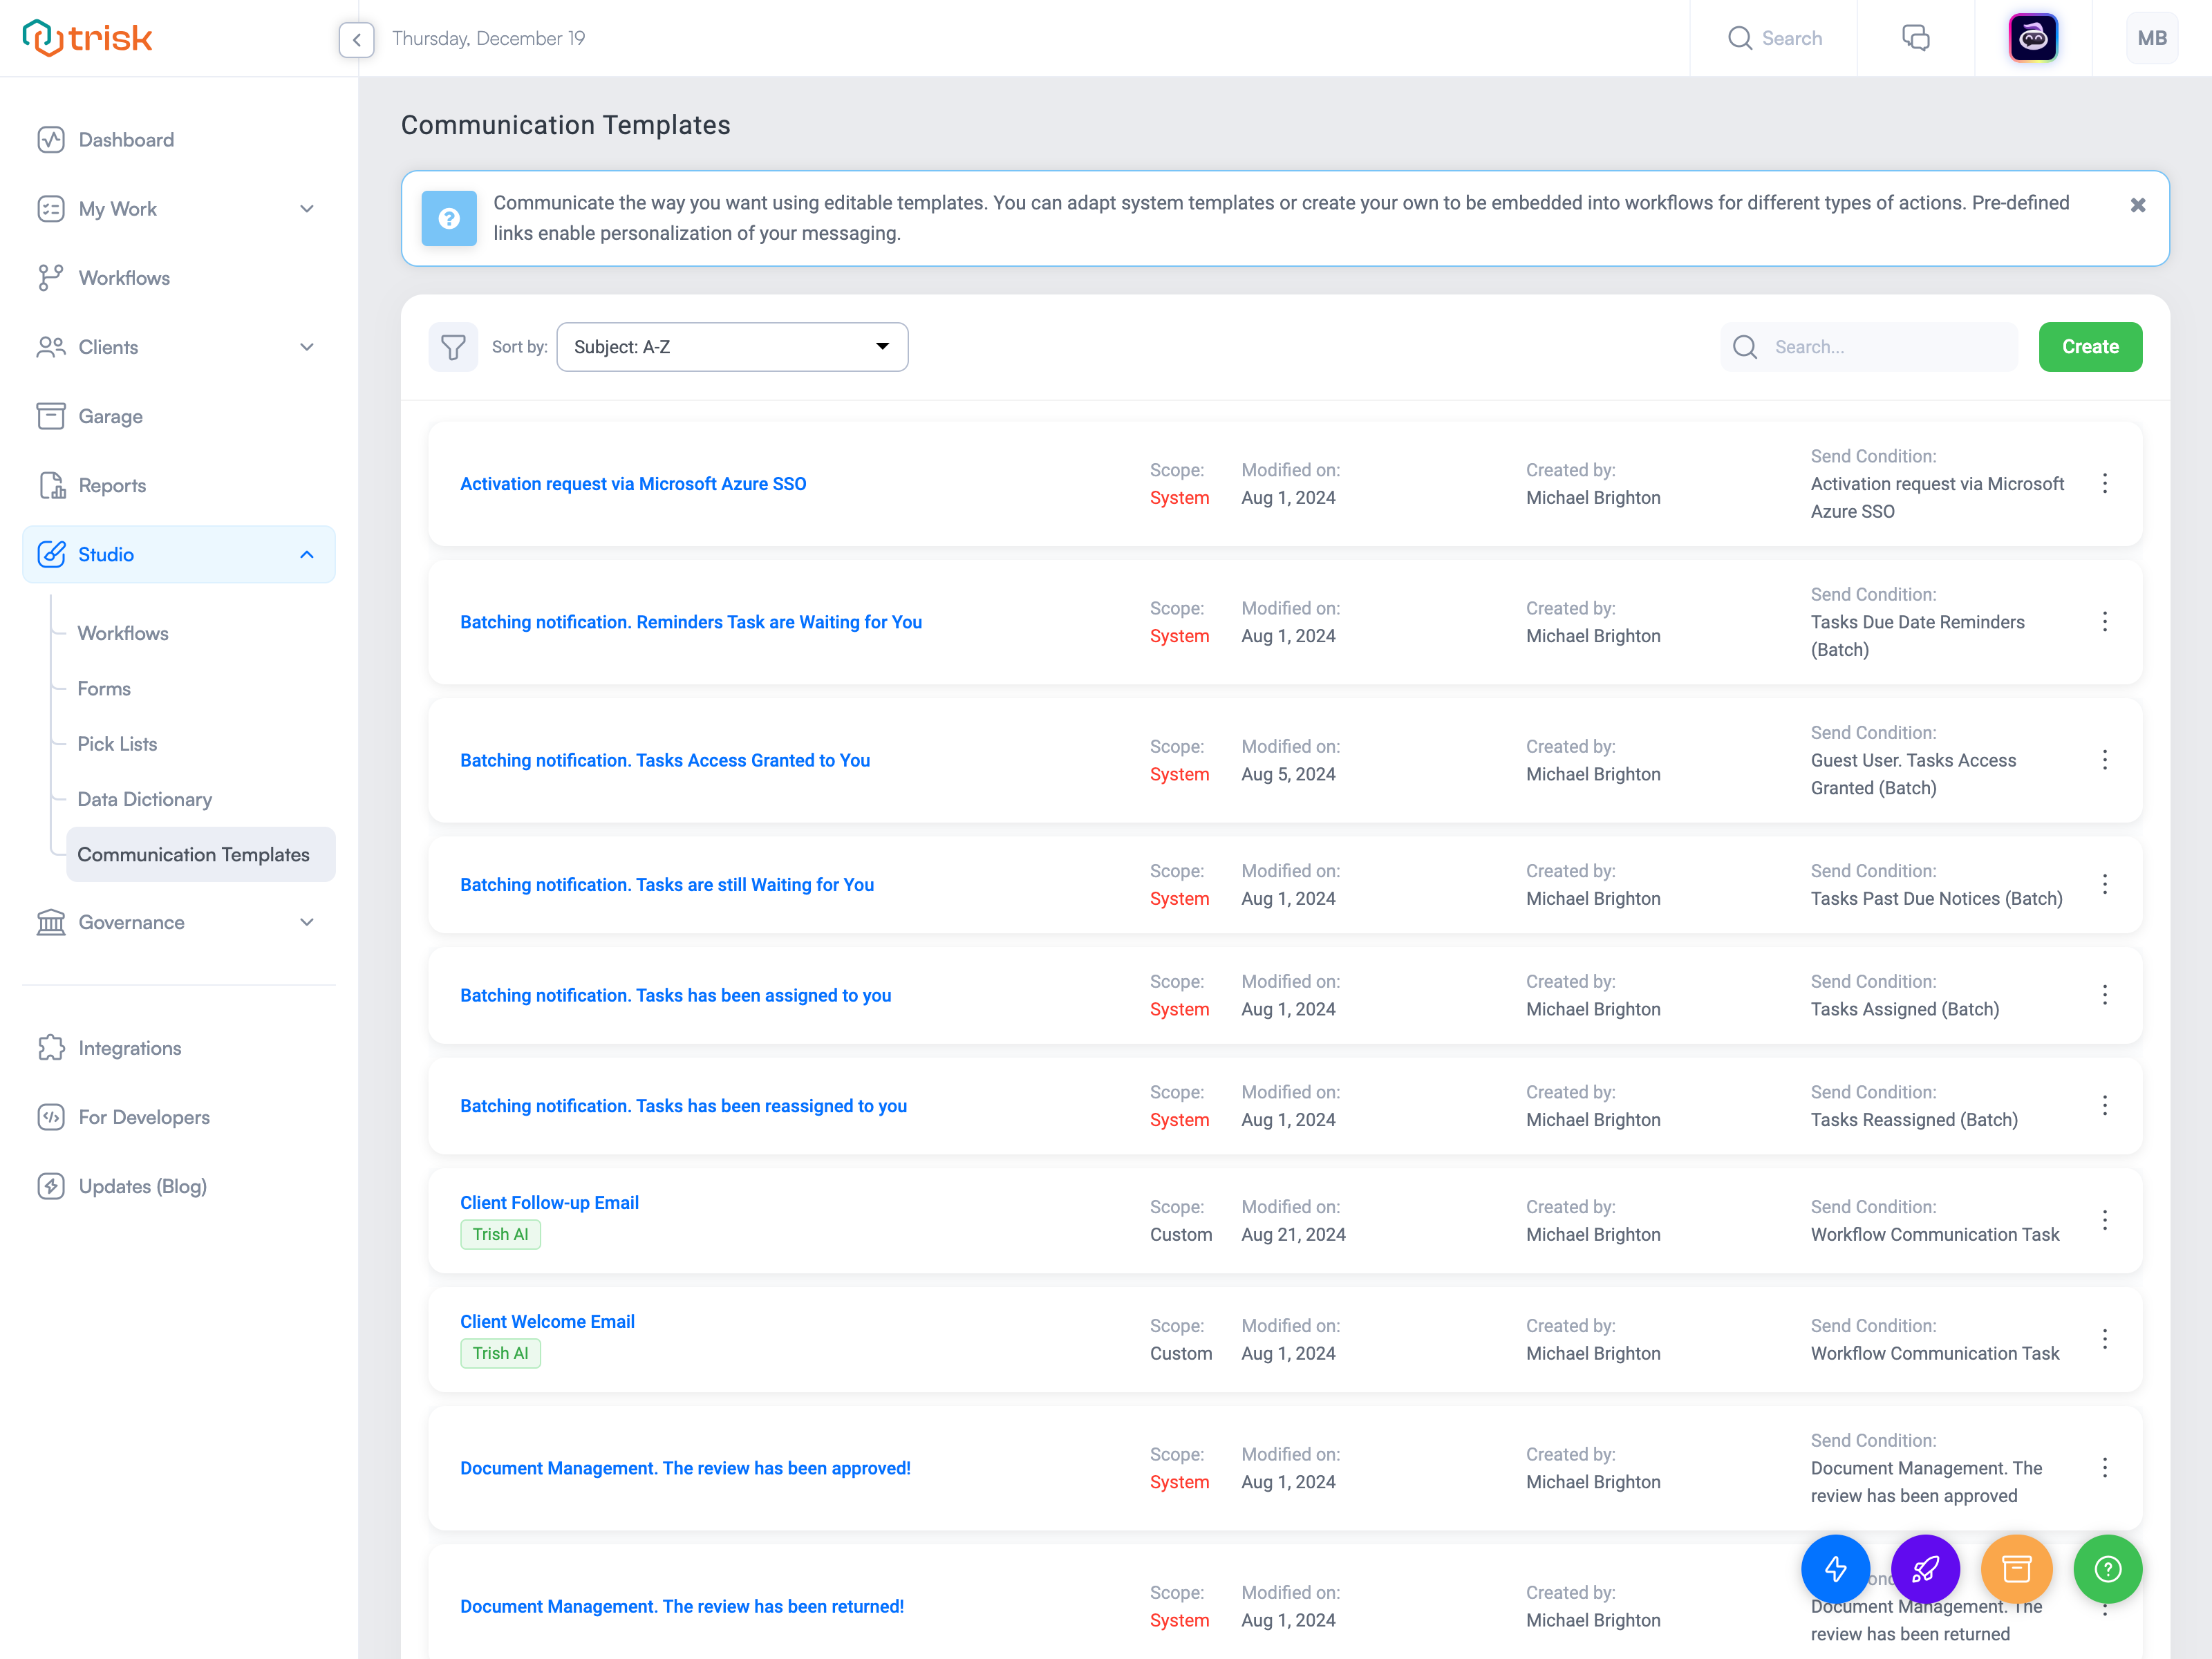
Access to create, edit, delete, and view Communication Templates is permission-based, ensuring only authorized users can manage them.
Accessing Communication Templates
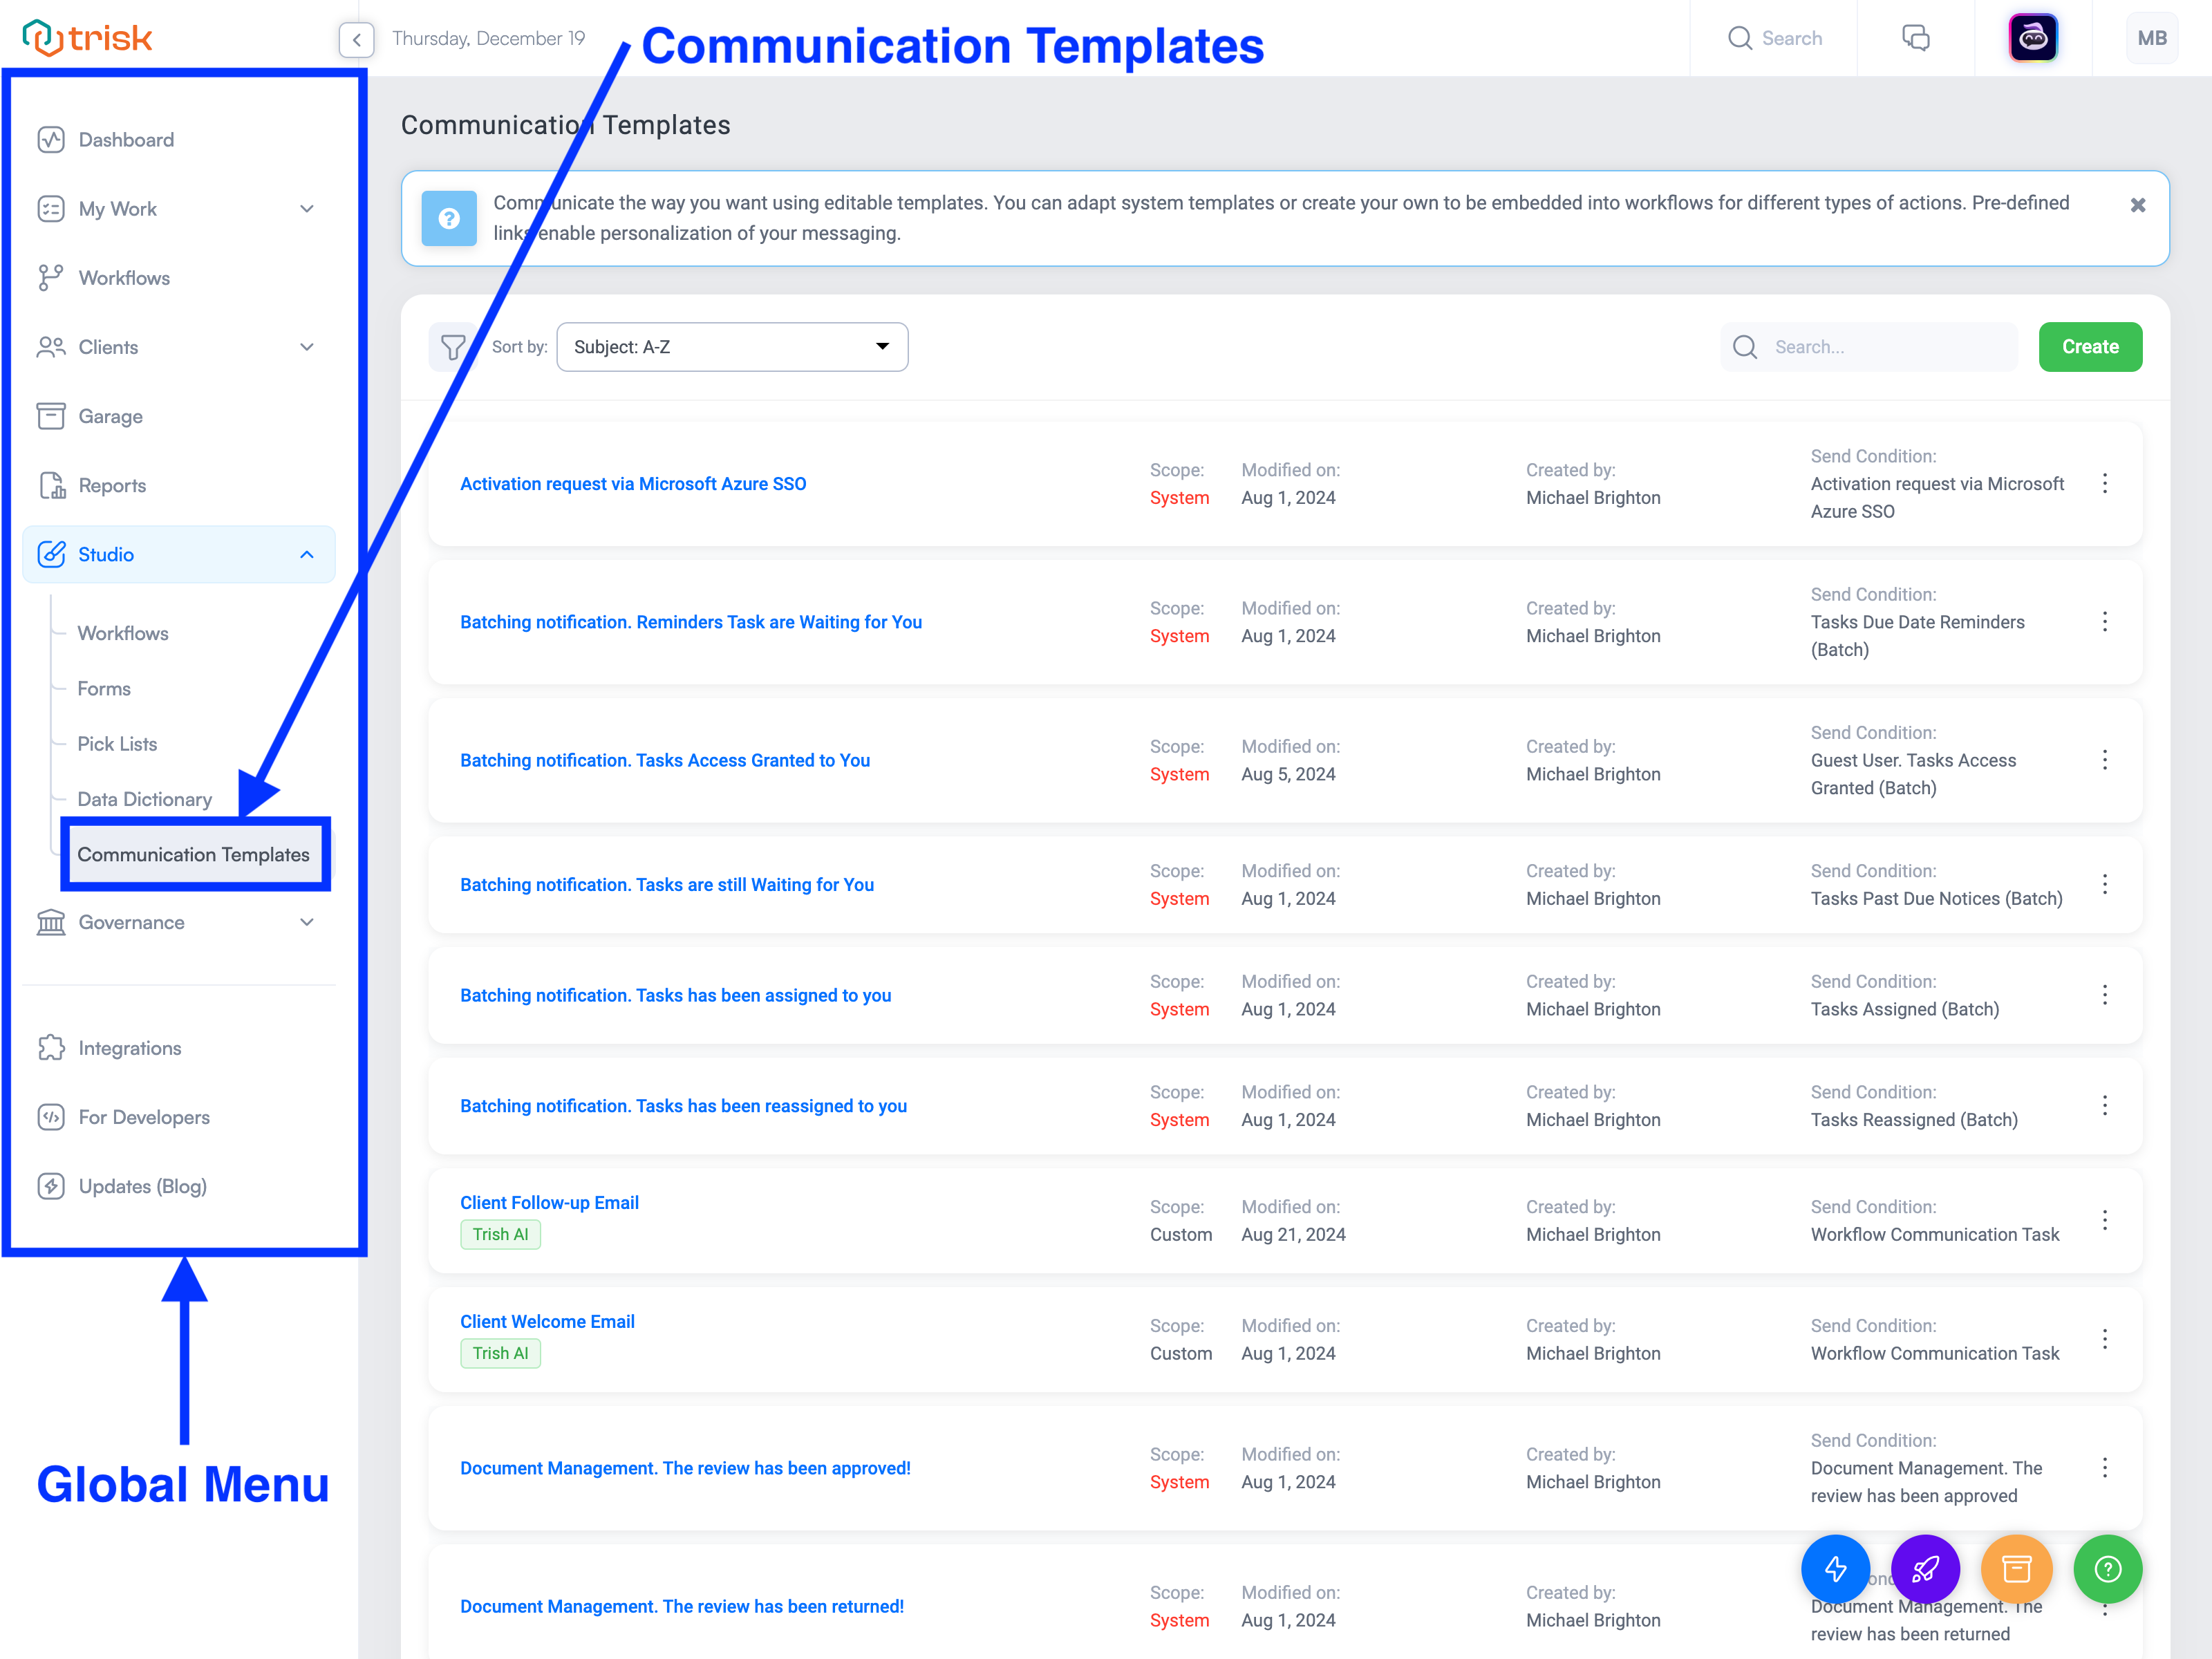
If your role has the necessary permissions, you can access Communication Templates via the Global Menu on the left, under the Studio submenu. Clicking will take you to the Communication Templates page, where the following types of templates are listed:
- System Templates: Pre-populated notifications provided by the platform.
- Custom Templates: Templates created by your company. (Note: If you're just starting, there won’t be any custom templates yet.)
For each template, the following details are displayed:
- Subject: The subject line that will be visible in the recipient's inbox.
- Scope: Indicates whether the template is System (predefined by Trisk) or Custom (created by your company).
- Modified on: The date the template was created or last modified.
- Created by: The name of the user who created the template.
- Send Condition: The workflow action that triggers the notification.
BEST PRACTICE: Begin with the system-generated templates to get a feel for how notifications work within your workflows. As you gain experience, you’ll be better equipped to create custom templates that align with your communication goals and make the most impact where it matters.
Creating Communication Templates
To create a new communication template, follow these steps:
- Start the process:
- Click the green "Create" button to open the Create Communication Template page.
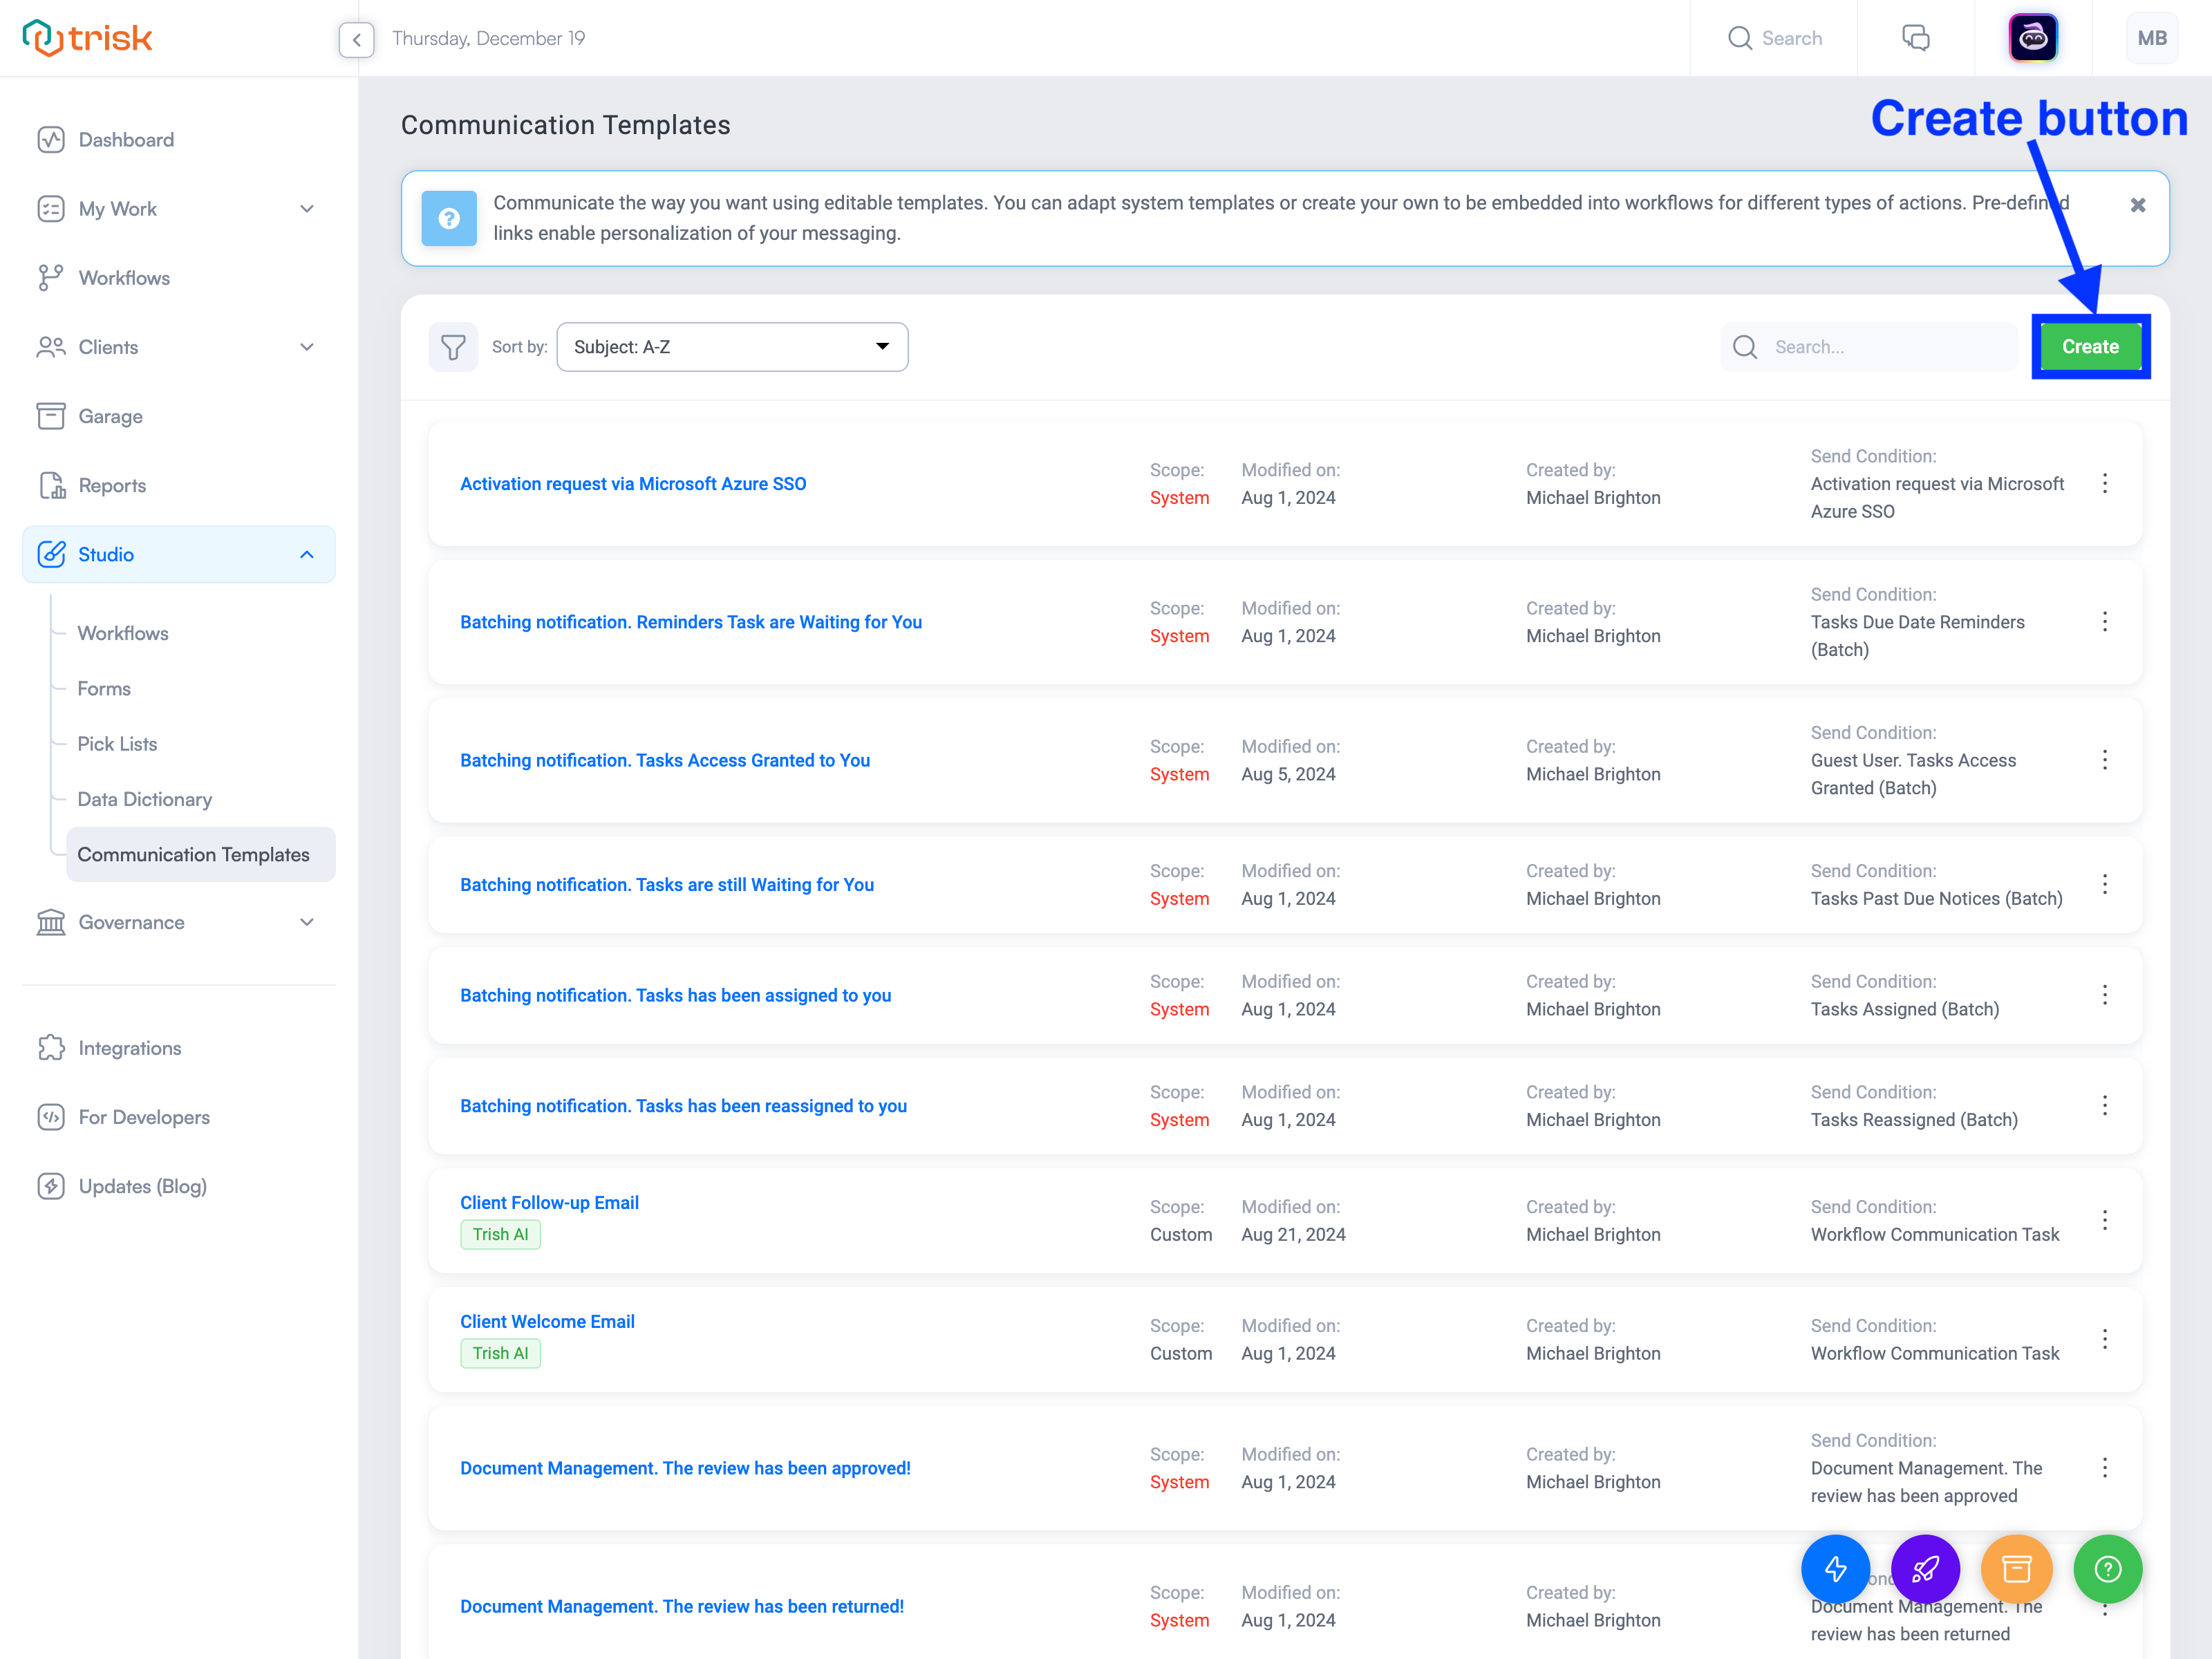
- Complete the required fields:
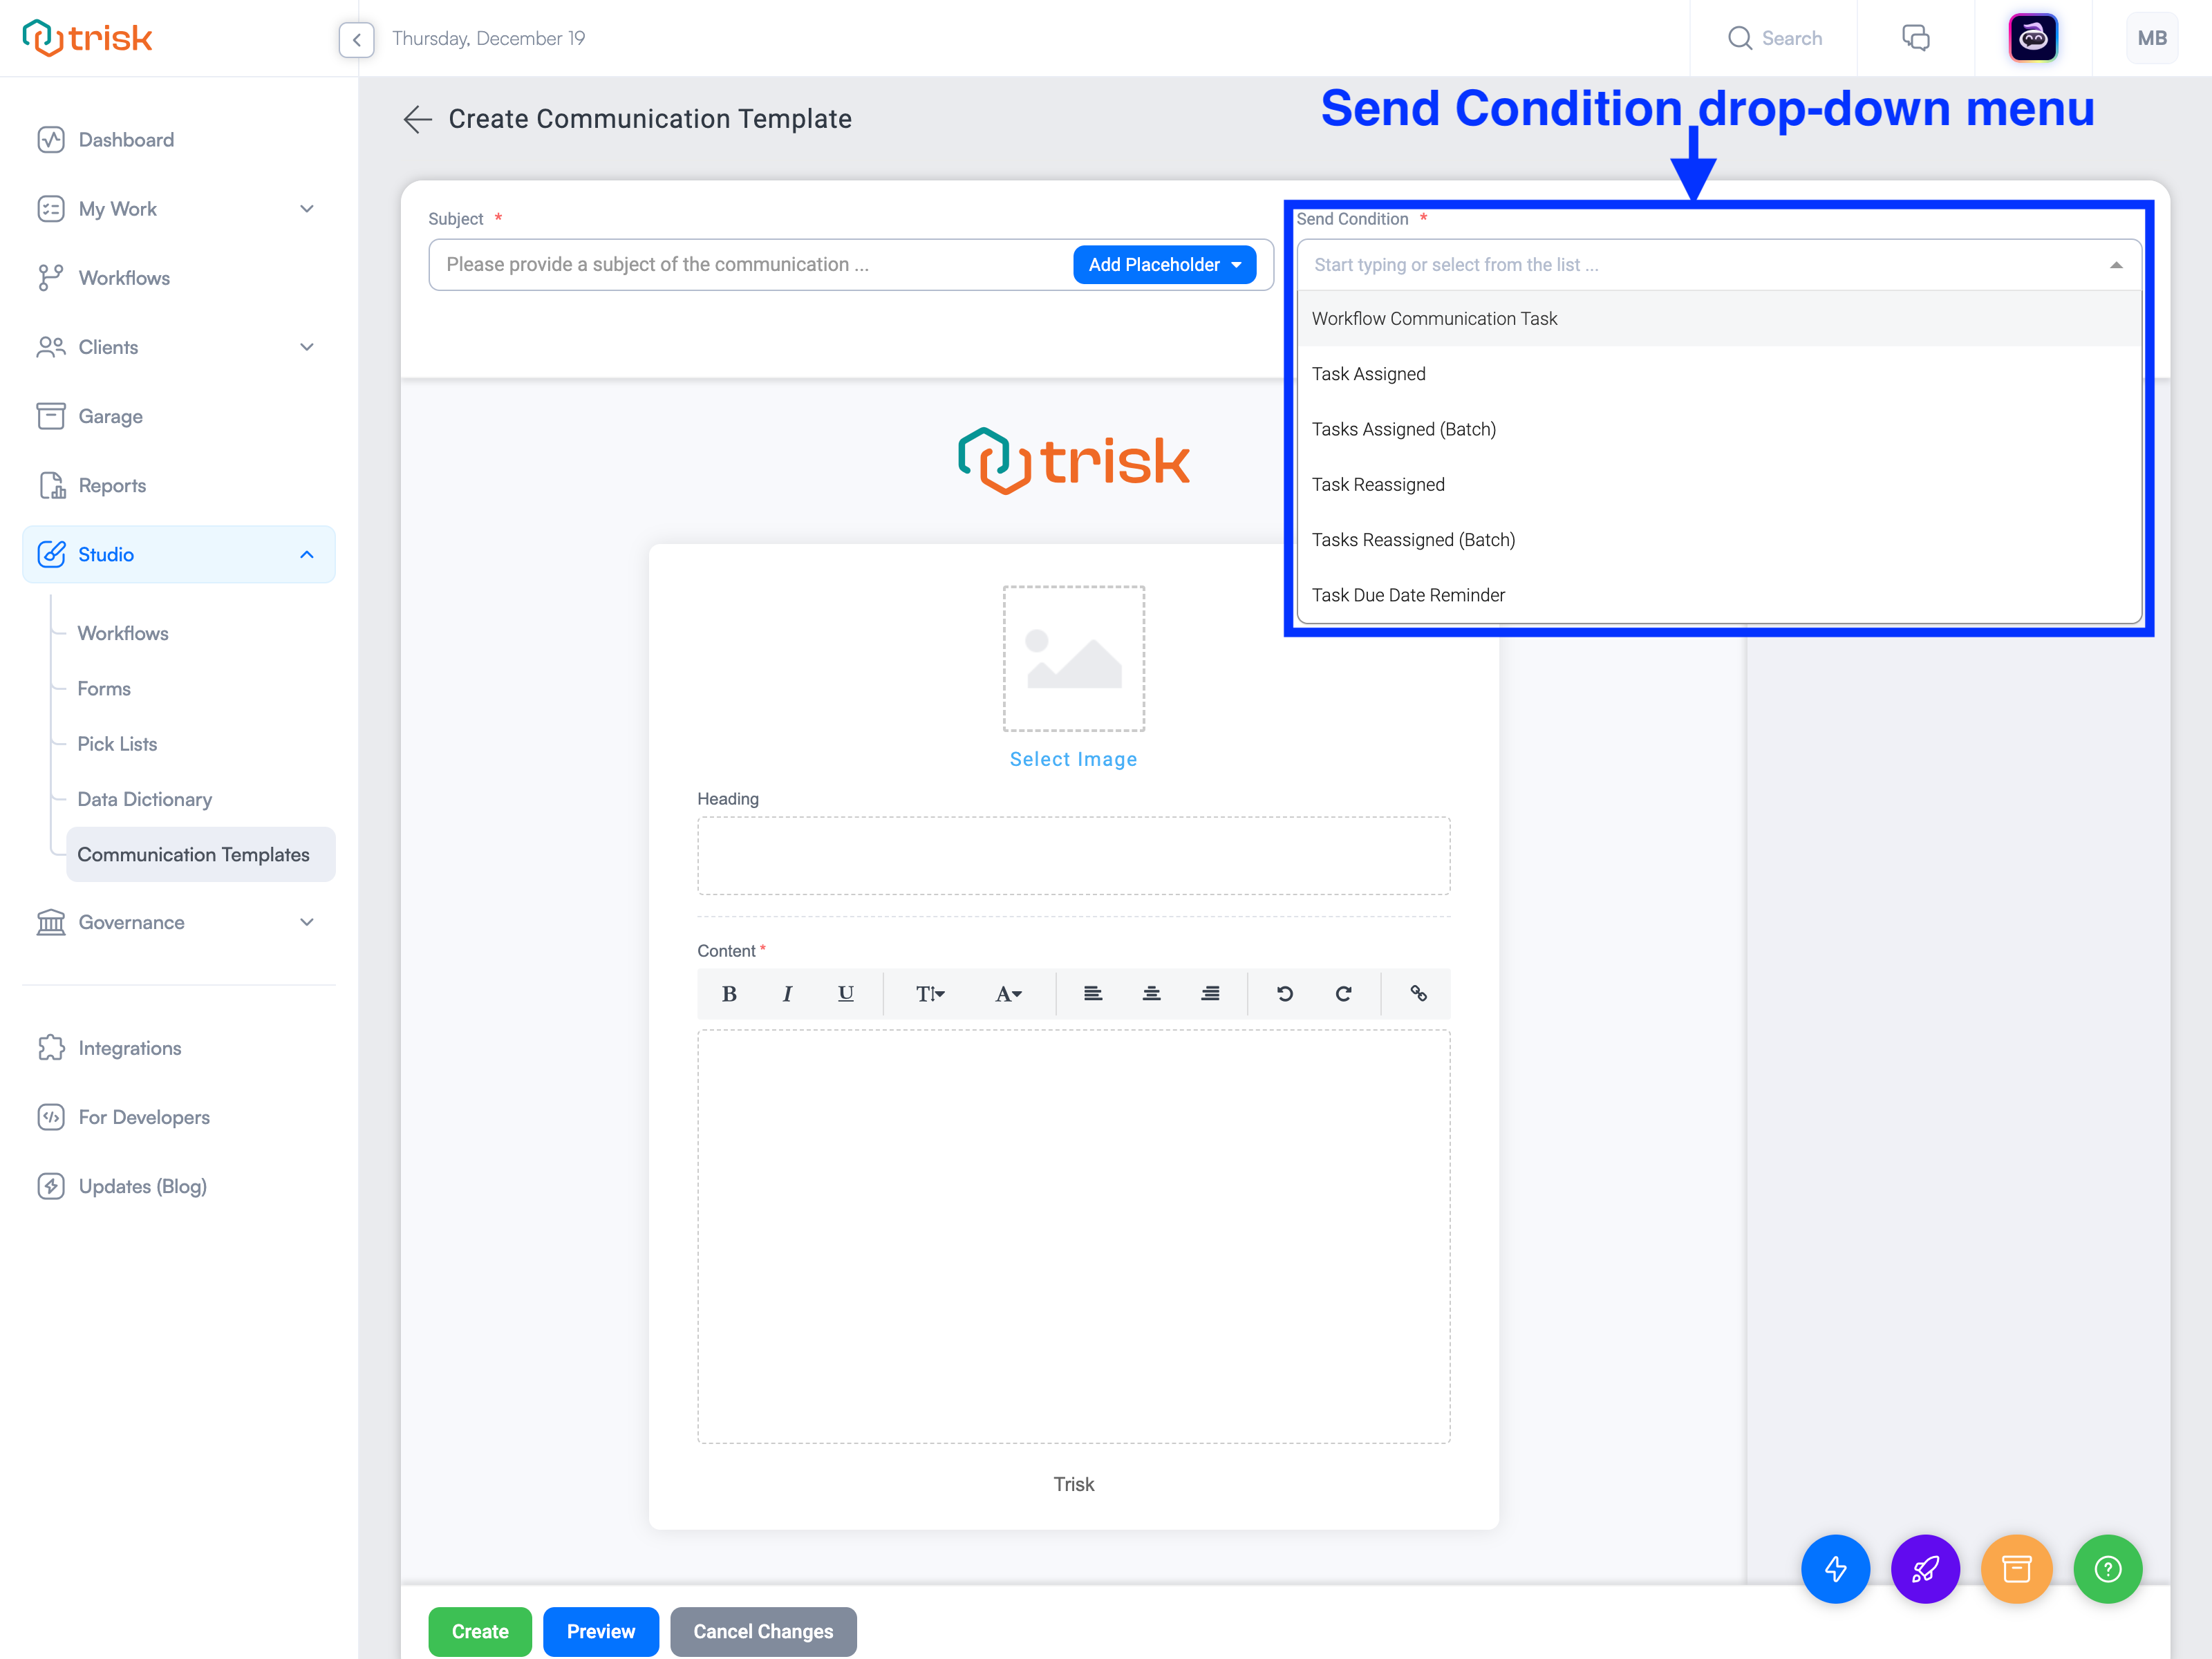
- Subject: Enter the subject line that will appear in the recipient’s email inbox. You can use placeholders in the Subject dropdown to personalize it.
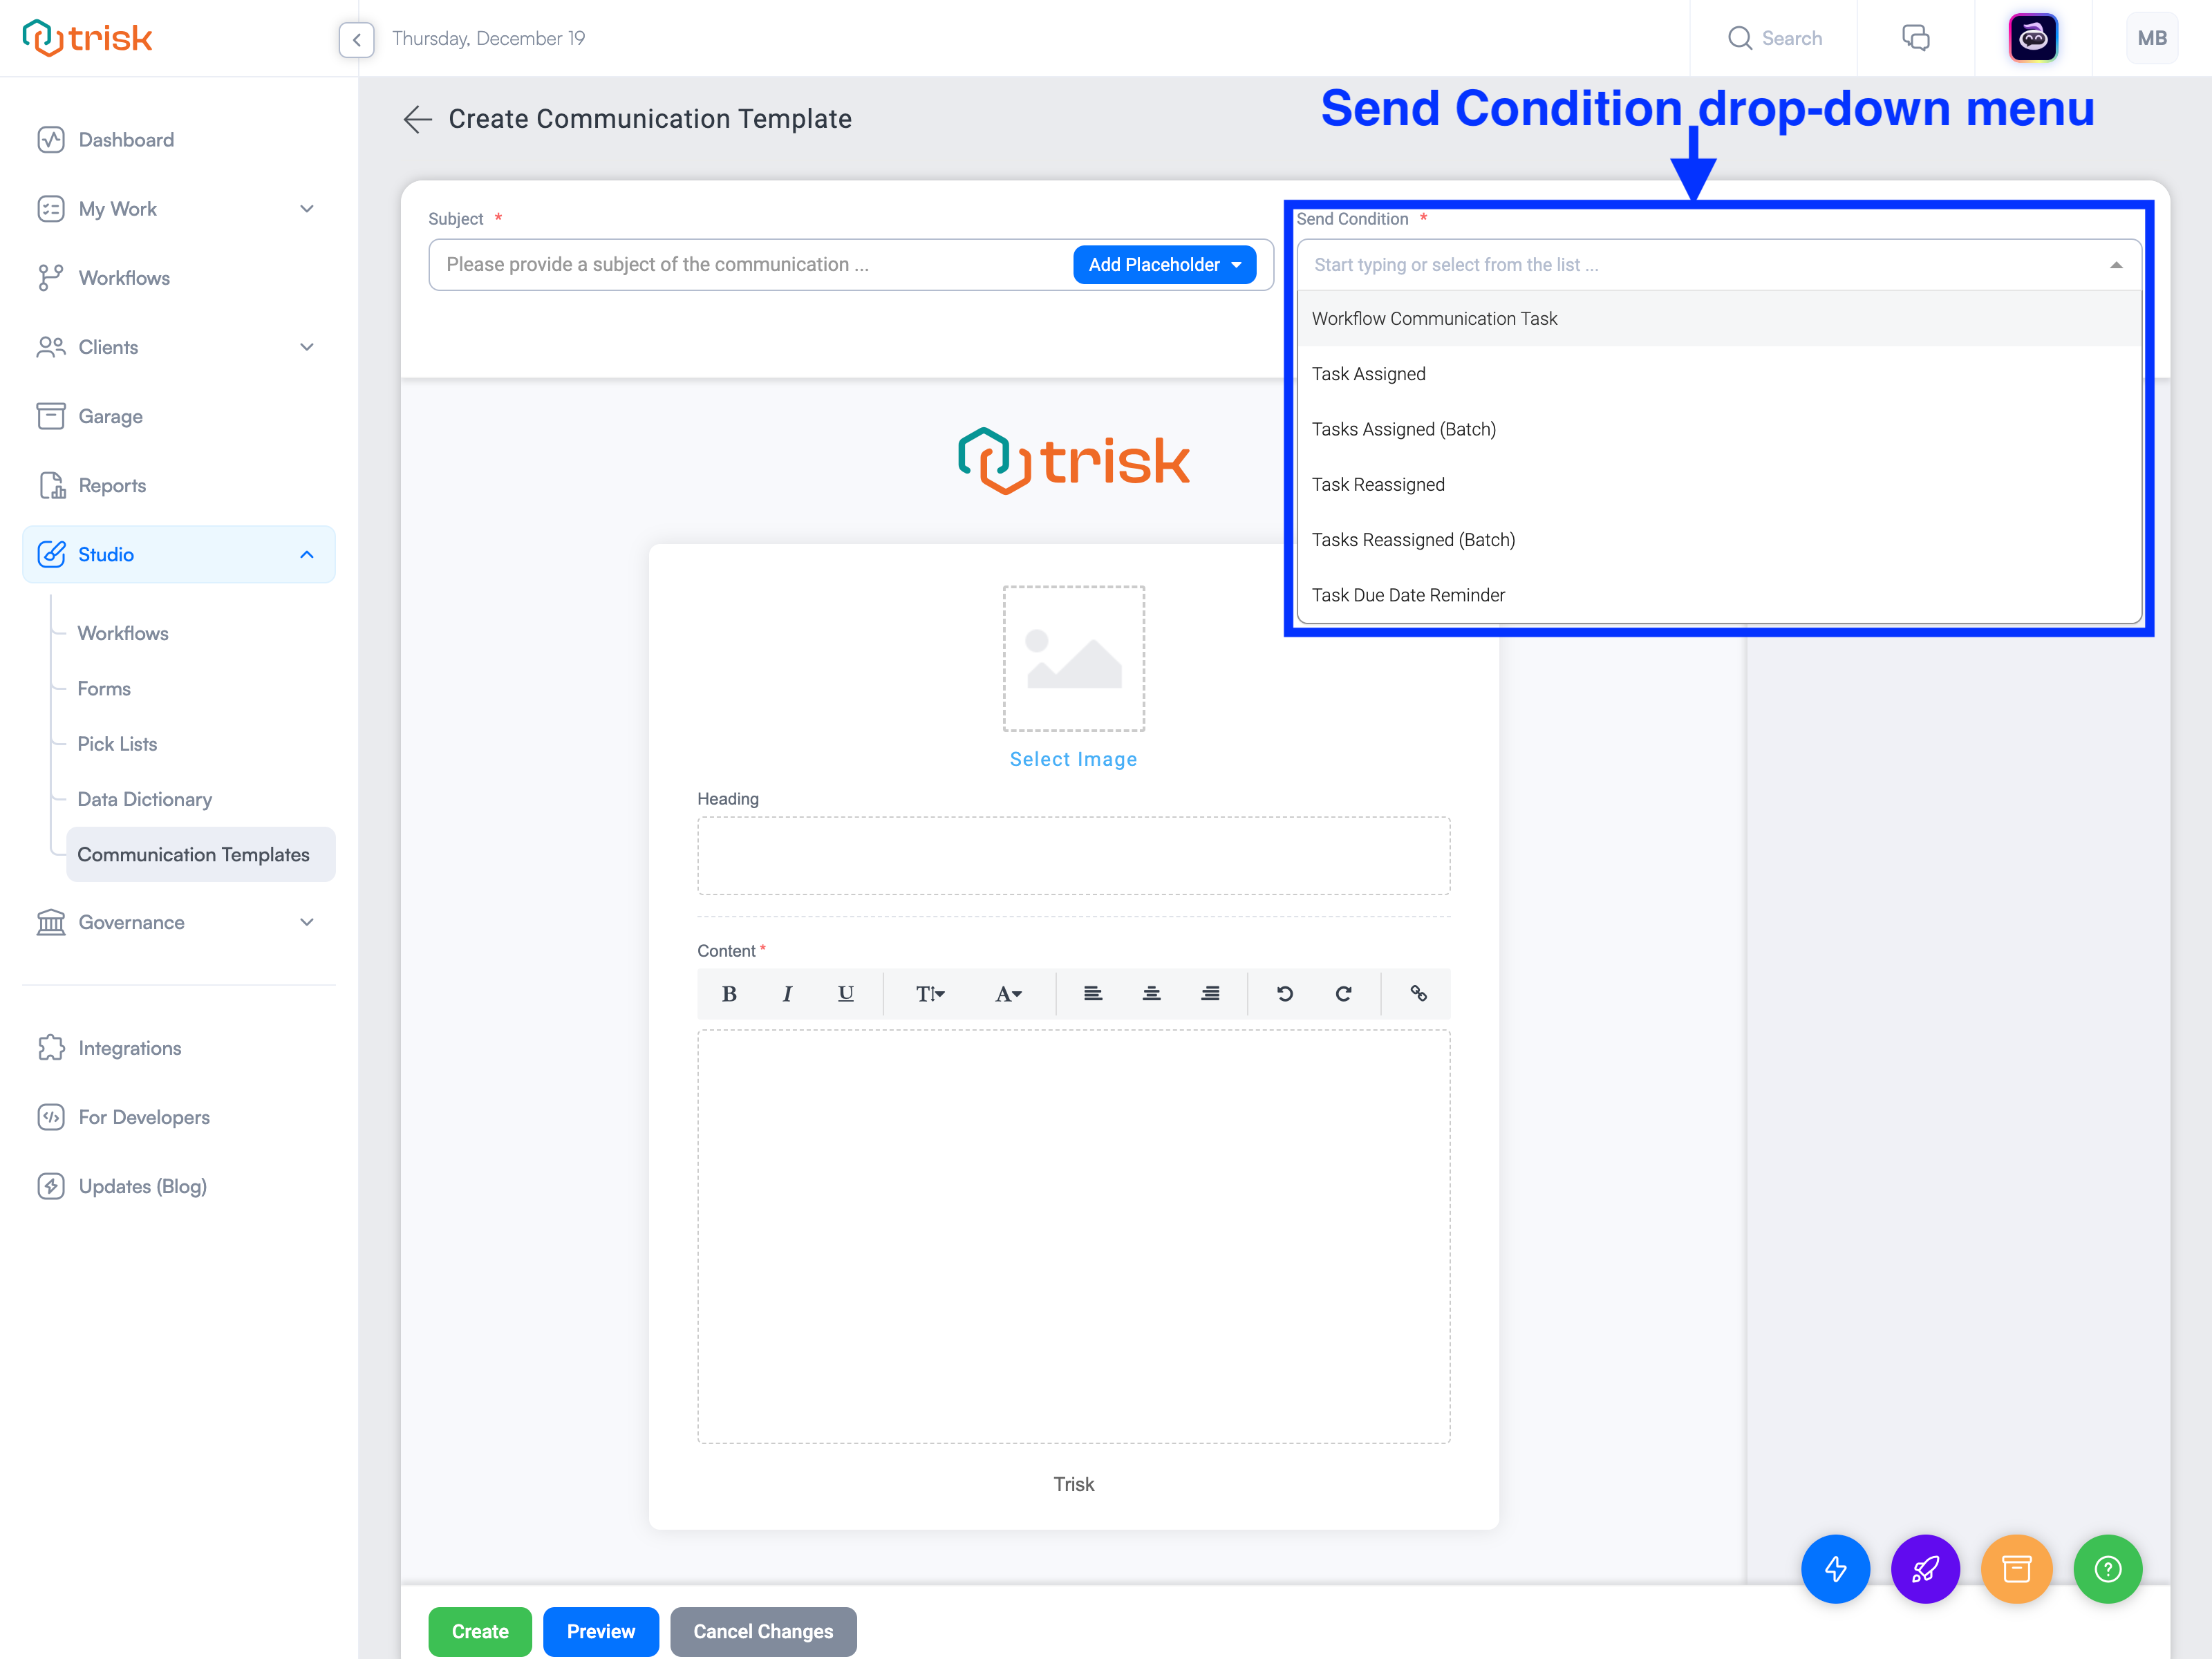
Note: Placeholders will only become available after you select a Send Condition. Placeholders allow you to dynamically insert details like a client’s name, workflow name, date, etc., into your notification. - Send Condition: Use the drop-down menu to select the workflow action that will trigger this notification.
- Subject: Enter the subject line that will appear in the recipient’s email inbox. You can use placeholders in the Subject dropdown to personalize it.
- Customize the template content:
- Select Image: At the top of the page, click the "Select Image" link to open a pop-up window and choose an image to include in your notification.
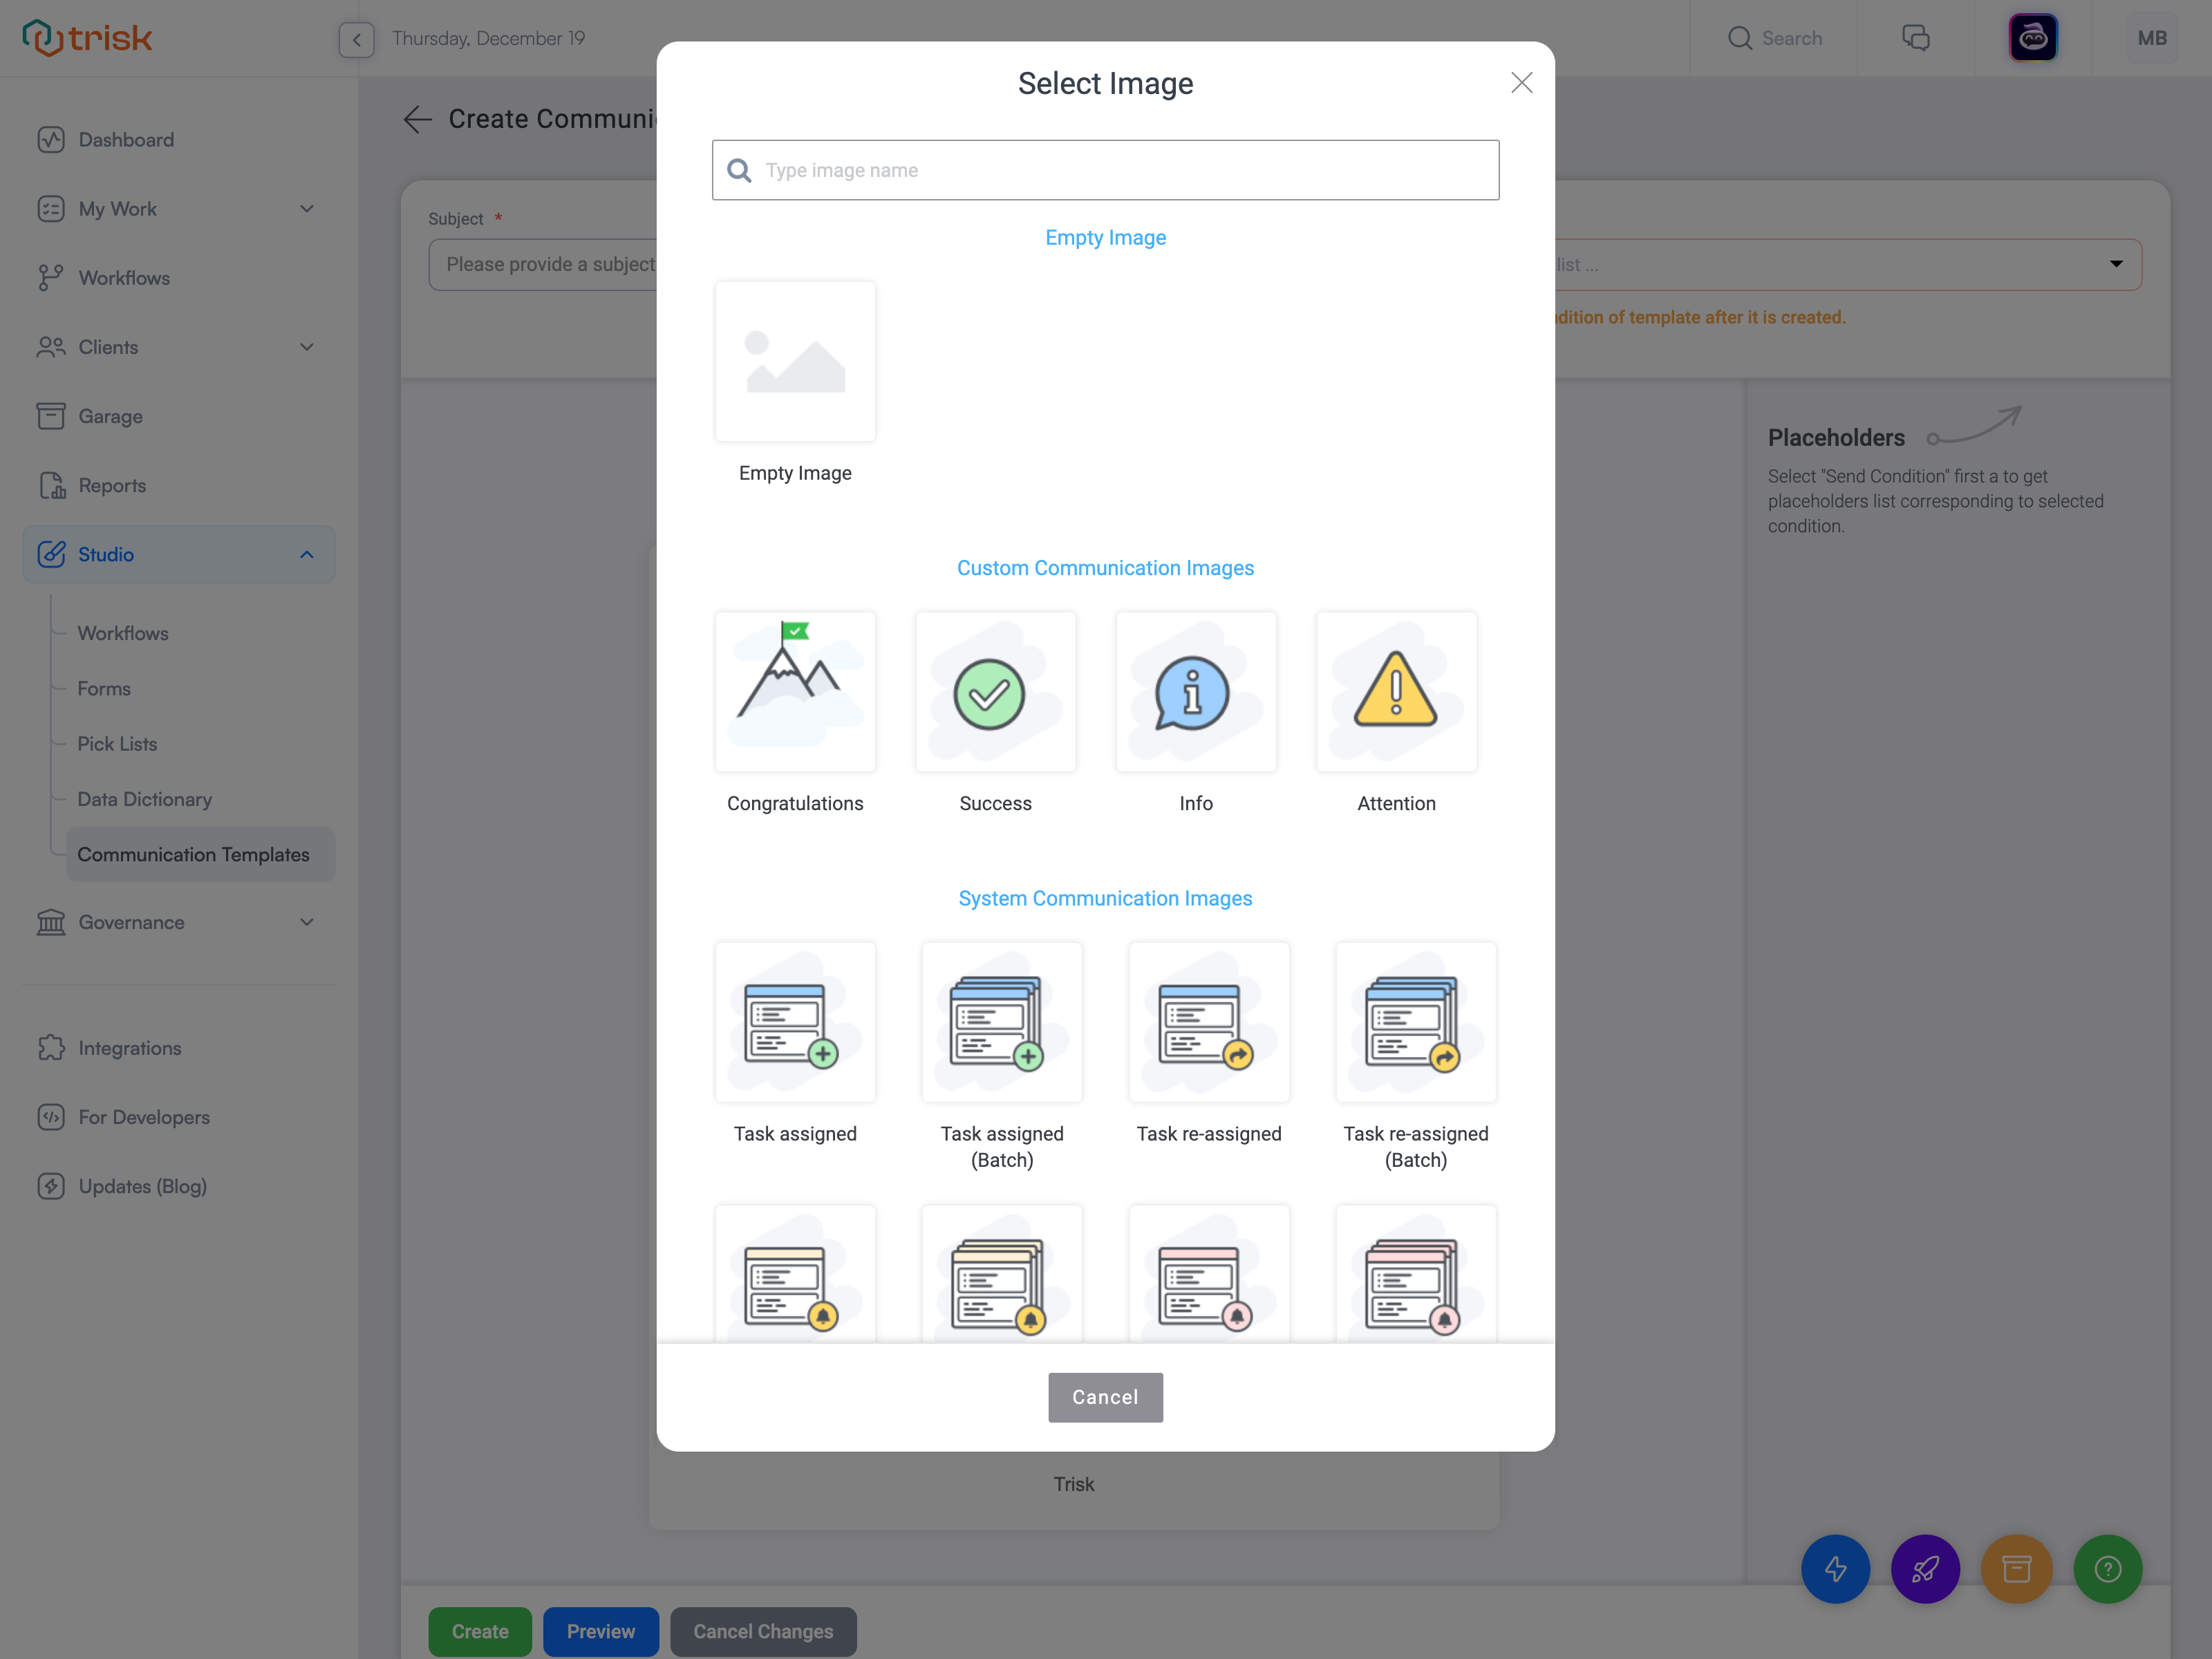
- Heading: Enter a heading to appear in the body of your notification.
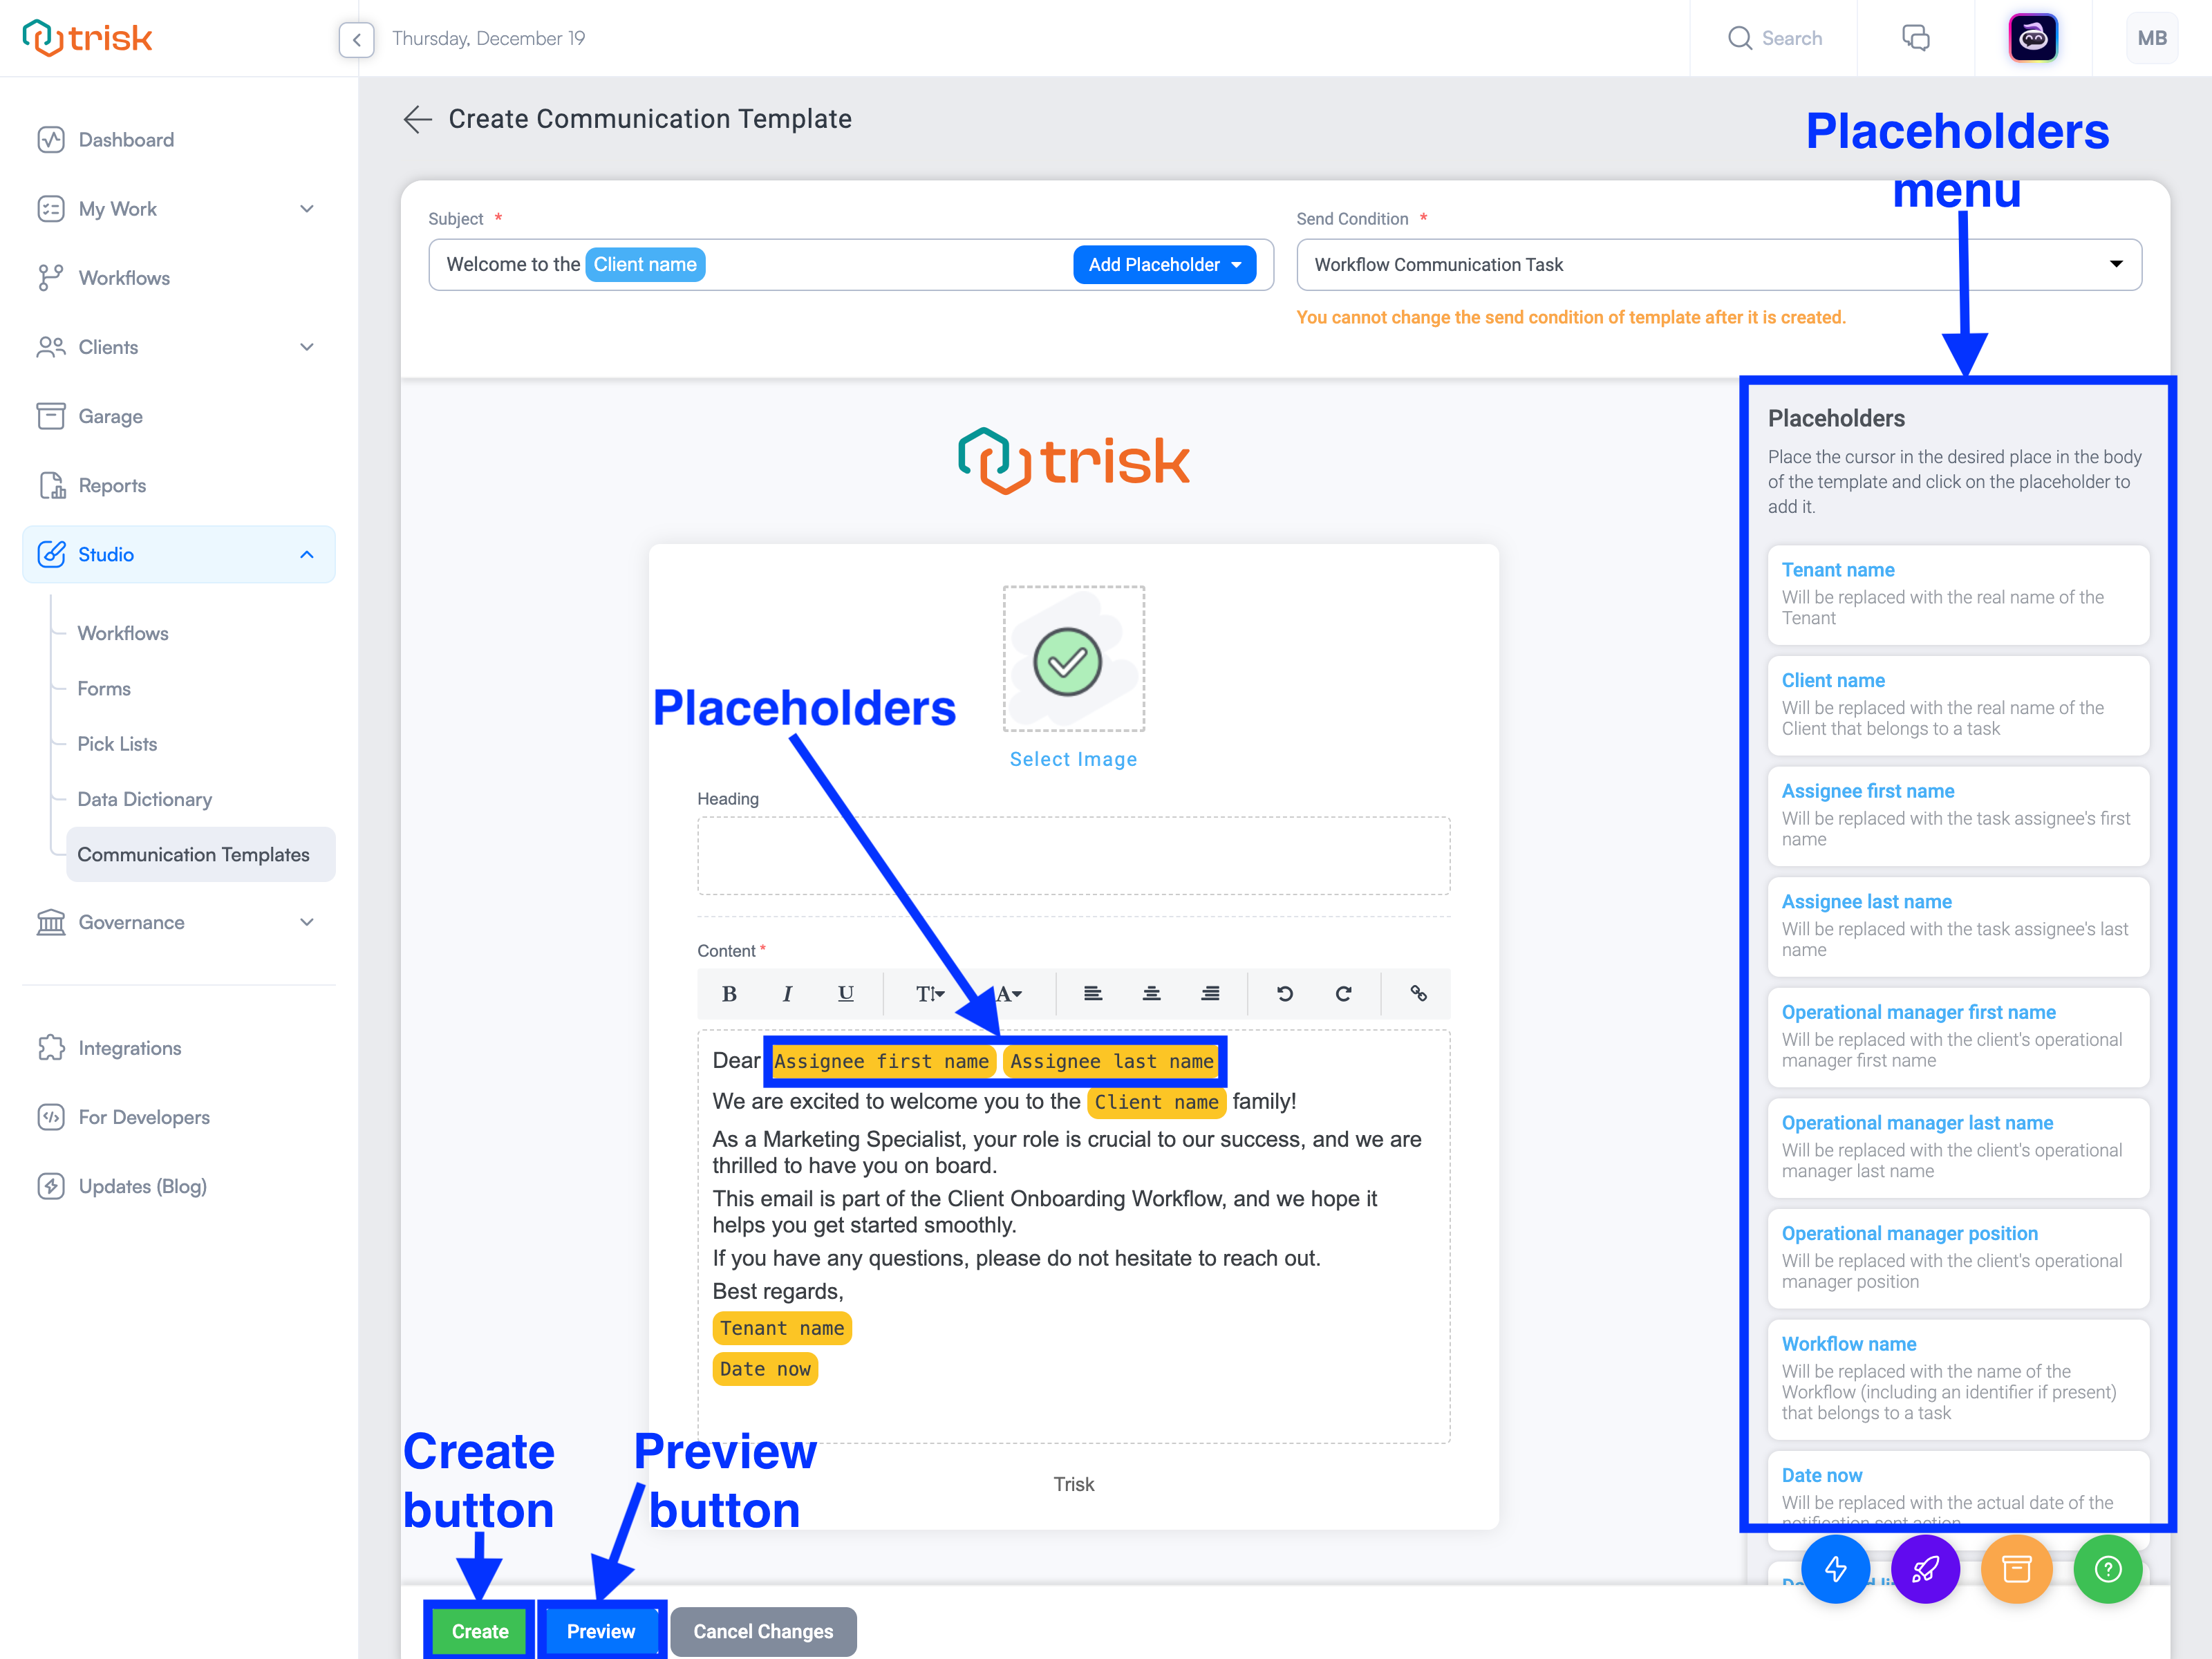
- Content: Use the Content box to write the main message of your notification. To make it personal:
- Add Placeholders: After selecting a Send Condition, a Placeholders menu will appear on the right side of the screen.
- Click on any placeholder from the menu to add it to your message. It will automatically insert where your cursor is in the content box.
- These placeholders will be replaced with real details, such as the Tenant’s name, task URL, or workflow name, making the message more personalized.
- Select Image: At the top of the page, click the "Select Image" link to open a pop-up window and choose an image to include in your notification.
- Preview and finalize:
- Click the "Preview" button at the bottom of the page to see how your notification will appear in the recipient’s email inbox.
- If adjustments are needed, close the preview pop-up and make changes until satisfied.
- Once everything looks good, click the green "Create" button at the bottom of the page to save your template.
You can return to edit the template at any time after it has been created.
Send Conditions
In Trisk, the Send Condition determines when notifications are triggered. There are ten Send Conditions for notifications, which can be customized using Communication Templates.
Workflow-Related Send Conditions
These Send Conditions are directly tied to tasks in a workflow and can be customized:
- Workflow Communication Task
Custom notifications created during workflow creation. These are fully customizable and often used to send targeted messages at specific points in the workflow. - Task Assigned
Triggered when a task is assigned to a user within an active workflow. The notification informs the user that a task has been assigned to them. - Task Due Date Reminder
Sent to users based on the notification rules defined in the workflow. These reminders help users stay on track with task deadlines. - Task Past Due Notice
Sent to users when a task’s due date has passed, based on the notification rules configured in the workflow. This serves as a prompt to address overdue tasks.
Non-Workflow Send Conditions
- Task Reassigned
Optional notification triggered when tasks are manually reassigned from one user to another. Unlike the above conditions, this is not tied to workflow automation.
Batch and Bulk Notifications
Trisk provides options for Batch and Bulk notifications to simplify and streamline communication:
Batch Notifications
For Task Assigned, Task Reassigned, Task Due Date Reminder, and Task Past Due Notice, Trisk supports a Batch notification option. When enabled:
- Multiple tasks within the same workflow are grouped into a single notification template.
- For example, if a user is assigned several tasks simultaneously within the same workflow, they will receive one consolidated notification listing all the tasks instead of receiving individual notifications for each task.
Bulk Notifications
Bulk notifications apply specifically to Task Due Date Reminders. They allow you to send a single consolidated notification to multiple recipients when their tasks have the same due date.
- If tasks are due across different workflows within the same client, users will receive one email listing all tasks.
- If tasks are due in workflows across separate clients, users will receive separate notifications for each client.
This ensures organized communication while reducing unnecessary emails.
Communication Templates can be added to your workflow during the setup of the Communication task in the Workflow Building process.
Adding Tags to Communication Templates
All Communication Templates can be labeled with specific Tags for better organization and filtering. To add Tags:
- Click the three-dot menu at the end of the Communication Template card.
- Select the "Add Tags" button.
- Choose or create tags to categorize the template.
Note: Access to create, edit, and delete Tags is permission-based, ensuring only authorized users can manage them.
Once tags are added:
- Any user can filter the template list by clicking on a Tag to quickly find relevant templates.
- Tags can also be deleted if no longer needed (by users with the appropriate permissions).
